 |
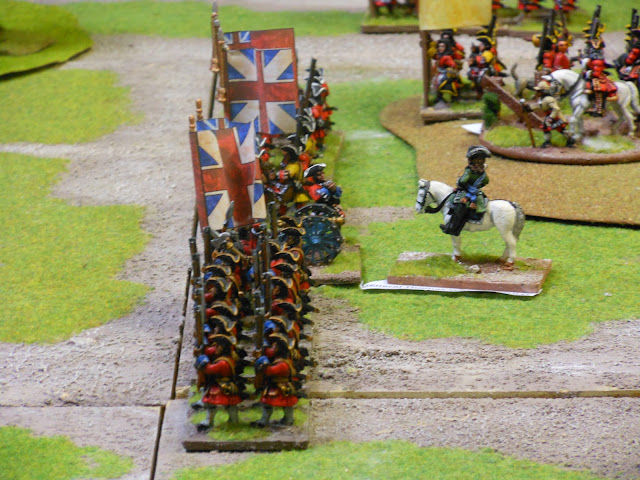
The Table before the Deployment
|
 |
| After Deployment: Jacobites on the Left, Haonoverians on the Right |
The Brothers assembled on Friday evening to continue the
current campaign. The Jacobite Commander, The Earl of Mar, (Paul) had taken to
his camp tent with a case of the virulent Flux (or was it the Pox?) and his
second in command The Laird of Borlum-
(Ralph) stepped up to take command with his
trusty subordinates Geoff ( as Rob Roy
McGregor) and Richard ( John Cameron, Chief of Clan Cameron).......
 |
| The Outskirts of Braemar |
 |
| The men of Clan Campbell, who joined the Hanoverian cause |
Both sides had hidden deployment and the Scots had a number
of ambushes prepared. The Duke of Argyll
had very explicit orders to ‘get stuck in’. So he did. From the start the
Redcoats advanced and found themselves initially up against the two veteran
French regiments who held their ground as the British regiments emerged disordered
from the wood located to the front of the French. In a series of fire fights
two British regiments broke and withdrew. Throughout most of the battle, one of
the big factors that would decide the outcome was the two veteran French
regiments that would hold the centre left and would absorb enormous amounts of
punishment…..in the end they were for
all intents and purposes wiped out. The pitiful survivors would be amalgamated
into the bloodied remains of the Irish Bulkeley Regiment.
 |
| The Centre of the Hanoverian Line |
 |
| The Center of the Jacobite Deployment |
While they held the left centre the Hanoverian troops were
drawn closer and closer to the waiting clansmen hiding in the woods on each
flank of the French veterans. Miraculously their smell did not give them away.
Although the Redcoat advance was measured and supported by the three Dragoon
squadrons (commanded by Phil) they suddenly found themselves being swamped by
hordes of plaid clad screaming clansmen who were met by measured volleys. In centre
where Orrey's ( 21st )Regiment stood on a hill with artillery support three
waves of Highlanders launched a screaming attack. Two regiments were thrown
back, but the third bravely ploughed on
and slammed into the defending regulars- and sent them running. By now three
redcoated regiments were either routing or withdrawing.
 |
| One of the Advancing Redcoat Regiments |
 |
| Center of the advancing Redcoats |
The Jacobites had lost two clan and one French regiment as Morrison's ( 8th ) Regiment - Veterans-
with a brisk volley saw the last of the
French veterans off, but not without casualties. They then came under sustained
attack from the Highlanders and in a
flurry of Lochaber axes and Claymores, the regiment also broke. By turn eleven, fully half the redcoat
regiments Shannon’s (25th), Morrison’s(8th ), Montague’s(11th)
and Orrey’s (21st) had routed/fled or been forced to retire.
On the Hanoverian left, the redcoats (commanded by Nick)
were involved in some seesaw action with Ralph’s troops. At one stage of the
battle Nick was forced to withdraw the advancing Prestons’ regiment as its
flank was being threatened by some Jacobite cavalry. There were cries of
disbelief as Roger exclaimed that it was the first time he had ever known Nick
to retreat voluntarily. ‘Who would have though it? ' he said shaking his head in disbelief.
 |
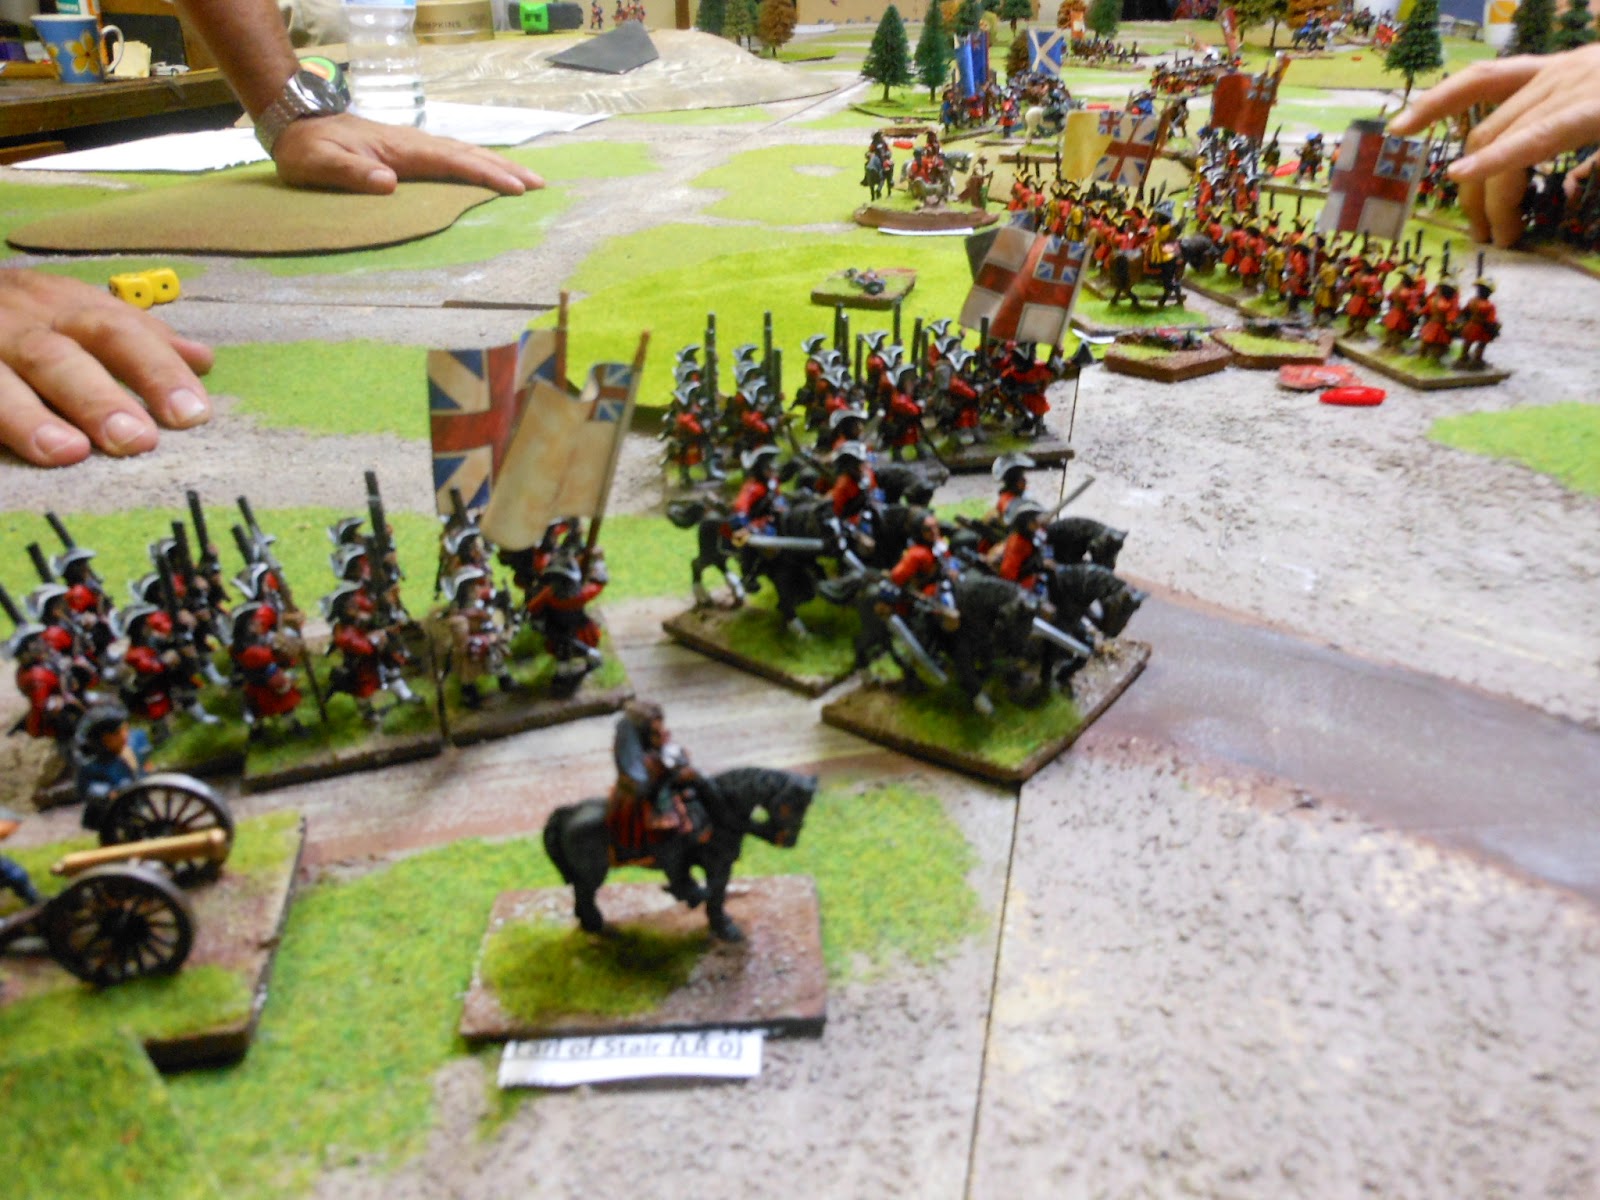
| The Dragoons advance in support |
 |
| General O'Brien commander of the two French Veteran Regiments: The Irish Bulkeley and the Royal Italian. |
 |
| Hanoverian Artillery |
 |
| Jacobite cavalry |
Ross, the Duke of Argyll, even though he realised that he
was too heavily committed to make an easy withdrawal, was forced to bite the bullet
and order his troops out of the action .
For the loss of 3 clan regiments, the two French veteran
regiments and one Highland Horse unit, they had won a victory, a Pyrrhic one,
but a victory nevertheless and the Redcoats lost four foot regiments, a squadron of Dragoons and two batteries of guns.
Rumour has it that the Captain General , The Duke of
Marlborough, despite the fact that he gave explicit orders for Argyll to ‘get
stuck in’ wants to conduct a court of inquiry into the battle and Argyll’s
leadership. Argyll's conduct was, for all intents and purposes, exemplary on the day and he found himself in personal danger from marauding Highlanders on a number of occasions- he obeyed his orders willingly and with determination and confidence from the start. Hopefully Argyll will be exonerated and allowed to continue his
campaign!! As for the Jacobites, they await the arrival of a French fleet and
more reinforcements! So kudos to Ralph for his conduct of the battle....and the Earl of Mar had best be careful....if the Old Pretender decides..he may replace the Earl with the Laird of Borlum! More in the next blog.
 |
| The British form line. |
 |
| Jacobite Reserve Line |
 |
| Rear of the Veteran Irish |
 |
| Rear of the Royal Italian Regiment- on loan from Louis XIV |
 |
| The Old Pretender confers |
 |
| Hanoverian Line under pressure |
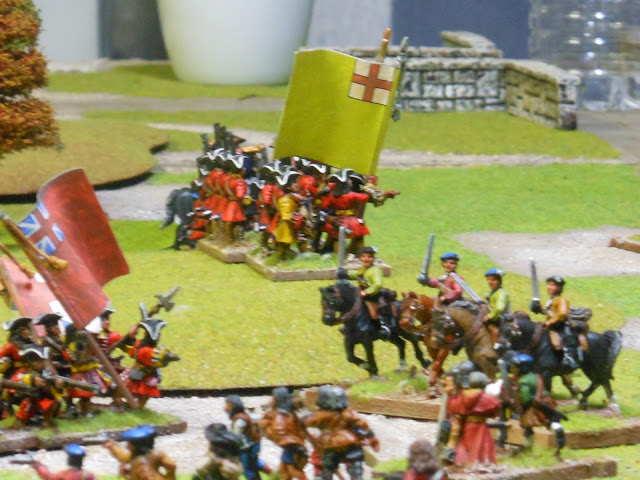 |
| Action on the Jacobite Right |
 |
| General Action on the Hanoverian Left- the fire fights between the Hanoverian line and the Veteran French troops in the back right corner of photo. |


Seems like a fascinating campaign, well run and loads of fun- but can the Jacobites win? I've been gaming with a Jacobite army (for the '45 admittedly) for years...and they are a tough lot to get a string of victories together....they lack the firepower of the adversaries. Good luck the Scots!
ReplyDeleteThanks!..it could go either way!It's been commented on by a number of the participating players on the problems the Highlanders face when caught out in the open by Hanoverian firepower. That's why in the end I decided to add in the regular French units.
ReplyDelete