French Ordonnance vs Maximilian Imperials

 I've been lucky to get four or five games in over the last few months and this might be the last one for a while- so it was gonna be a good one.

Ross's early 16th Century collection is spectacular. He has a vast, beautifully painted collection of Swiss, French Gendarmes, Landsknechts, Argoulets, Pavisiers, Burgundian Knights, German Knights, Italians of the same, arquebus, crossbow etc etc...all the stuff that makes that period so fascinating!

Putting his French on the table to fight his Maximilian Imperials, we knew it was going to be a bloodbath- loads of pike and heavy knights....


Seven Years War- Another Day , Another Scenario...

 For this game I took one of the old Table Top Teasers by Charles Grant and translated it to our rules and tabletop. This time there was no difference in quality of troops or commanders. Both sides had a Dashing commander, a Dependable commander and a Ditherer! (based on the command structure of Honours of War) As the vanguard of their respective armies the forces were composed of similar (identical!!) troop types.

Each side had six line infantry battalions, one light infantry battalion and three regiments of dragoons- all of the same quality. I am sure that this was historical....both sides exactly equal!!

The Teaser map from 1978. I added a couple of hills near each objective.


More Seven Years War - with no more dithering and no more bad die rolls!!

 After our last game, which was enjoyable despite the poor French performance we went for round two.

Another scenario was decided on as Ross and I were too traumatised to play the same one after our (French) Foote commanders refused to move. Paul was keen to give it another go- but we went for a scenario : Multiple objectives.

This scenario required the defenders ( French) to have their forces deployed at various points around the table ( see map - Zones A,B and C) and the attackers ( Austrians- Zone Z) to be deployed in one area. The town itself was worth two points and each hill (three: X,Y, Z) was worth a point each.

My sketch for deployment


The deployment and the arrows indicating the direction of advance for each side:
 Blue /French, Red/Austrian


The French defense was randomised and was split across the three deployment zones. Under the Honours of War rules the French infantry and cavalry ( Heavies especially) are inferior ( or just slower) than the Austrians. So using the point system, the French had quite a few more troops- but much poorer quality even though wisdom states that the attackers should outnumber the defenders.

Seven Years War Scenario: poor generals and bad die rolls

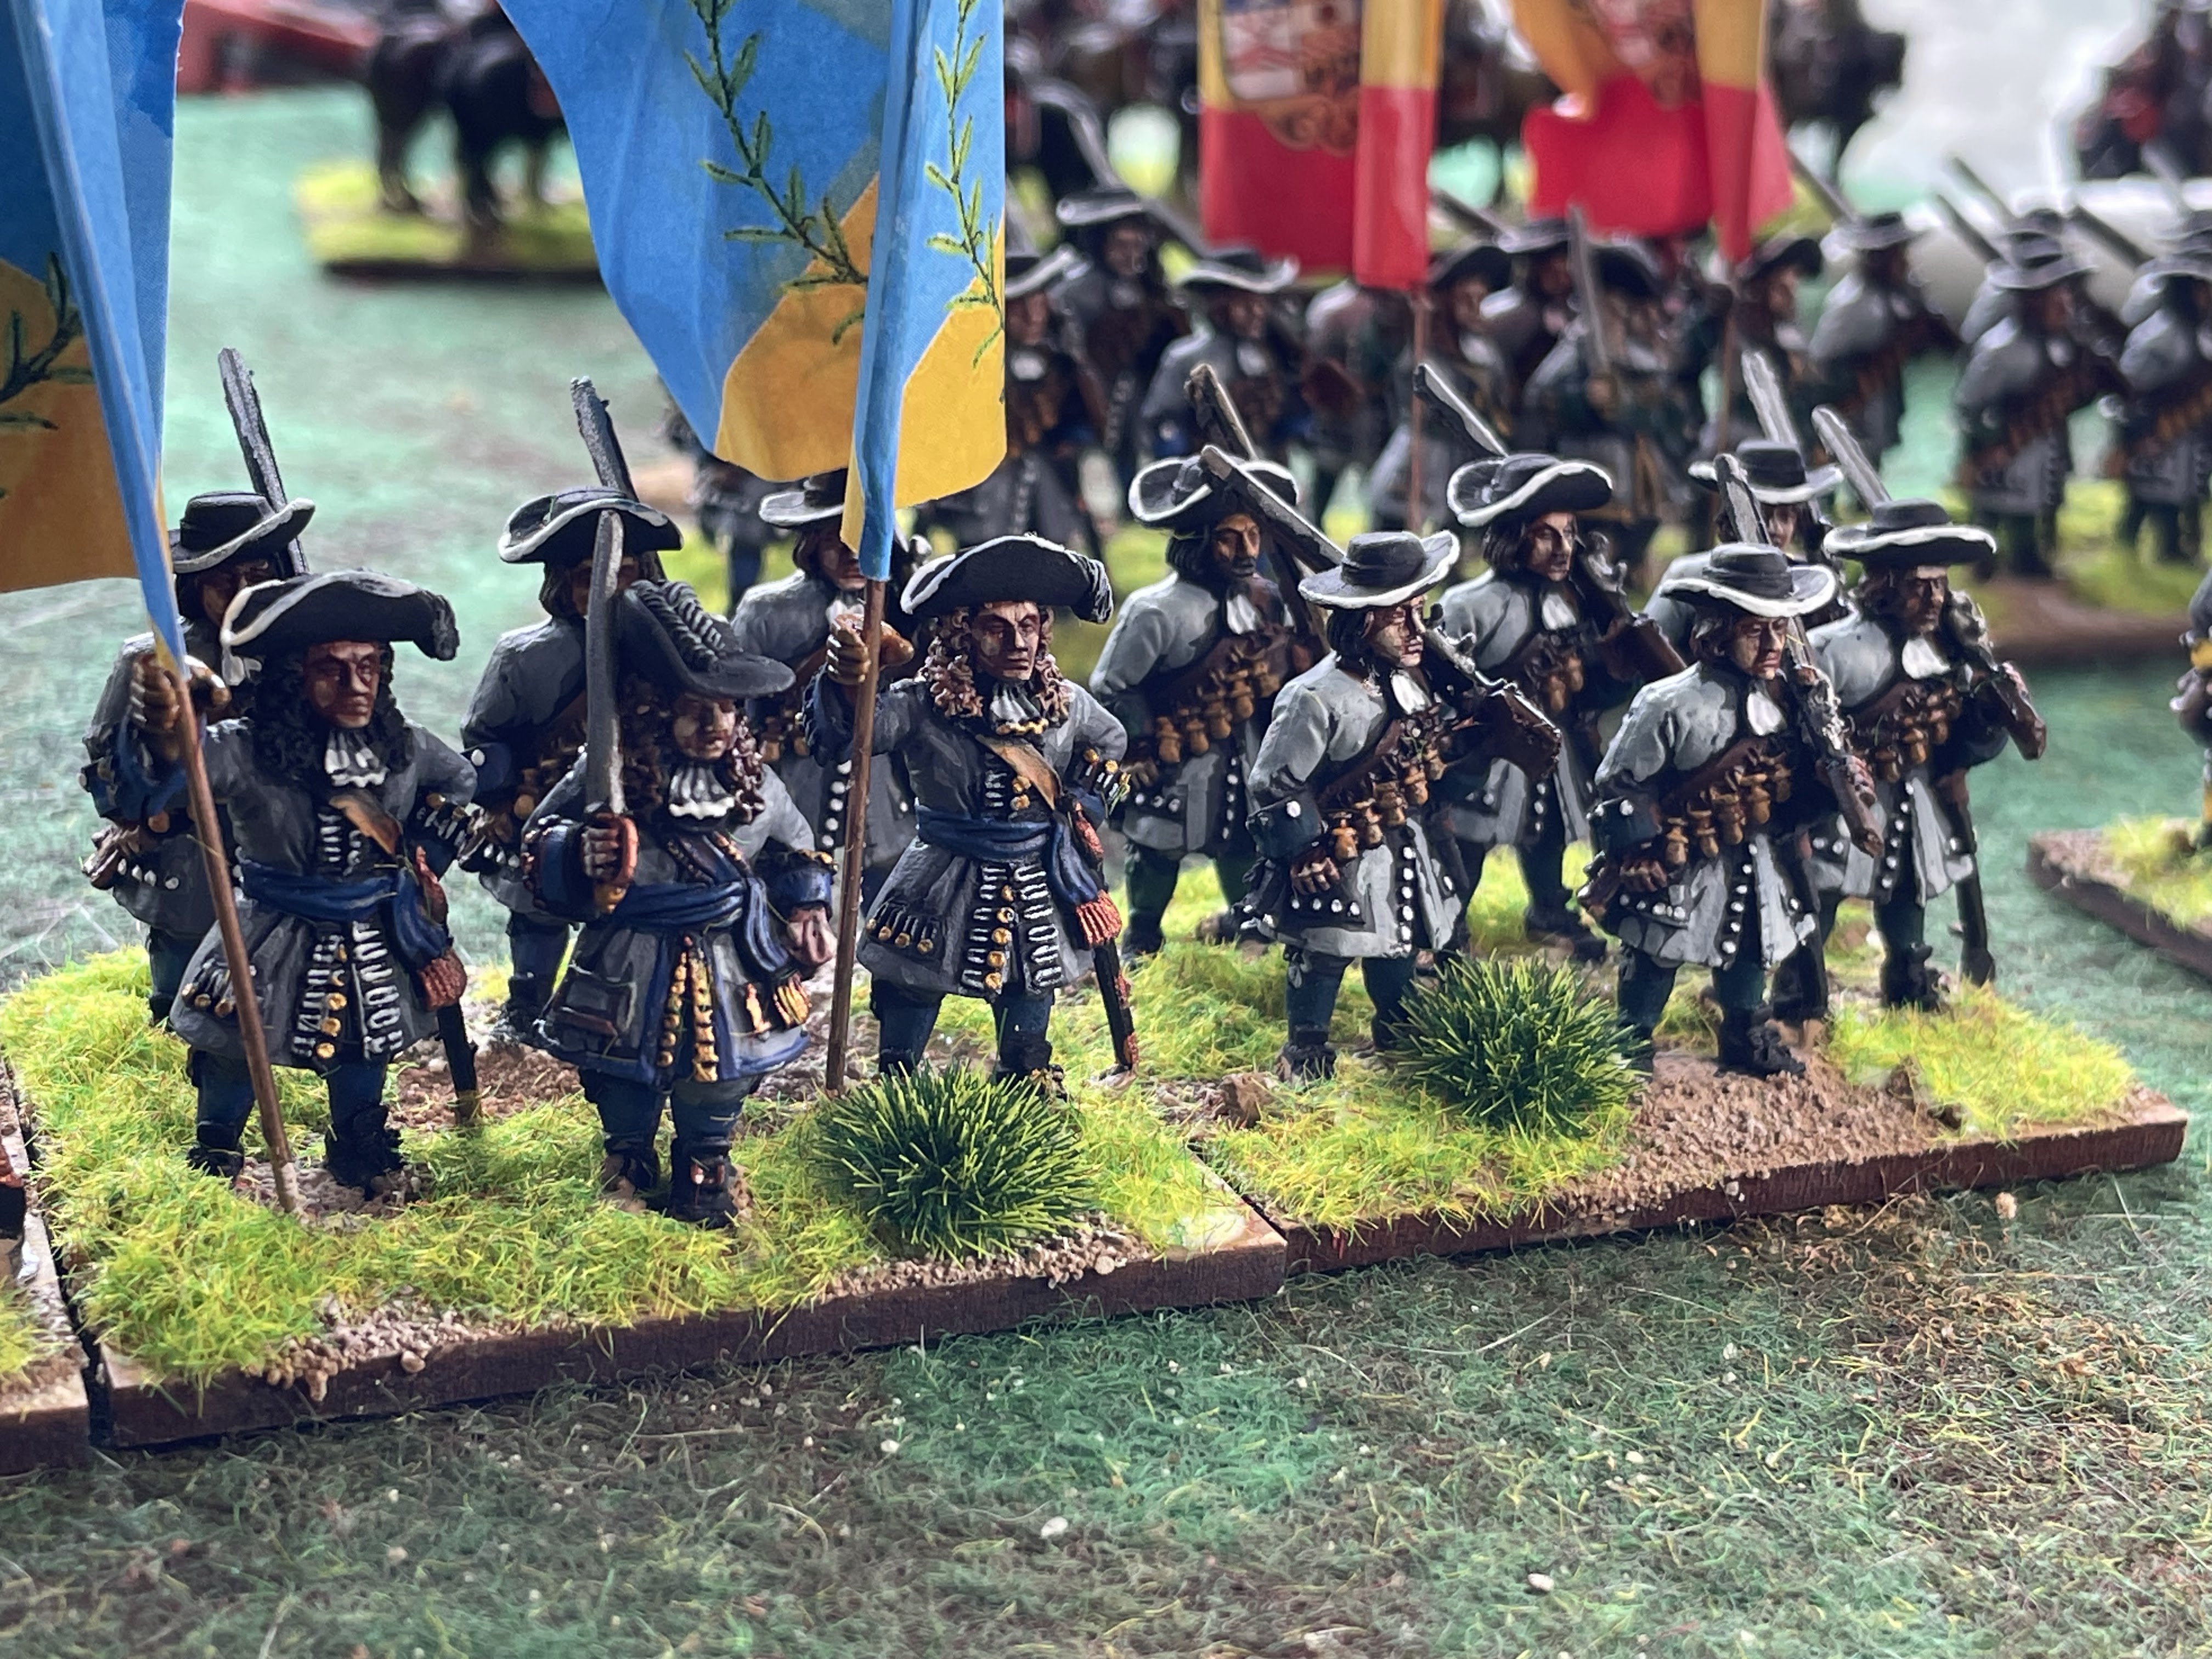
With our Seven Years War /War of the Austrian Succession armies nearing completion, it was time to give some of the available troops a run through. Paul had rebased his lovely Minifigs Austrians ( that once belonged to Ross three decades ago) and Ross' French were put through their paces.

We had decided that the usual head-to-head stoush really didn't cut the mustard as it lacked any forethought and didn't give us the ability to use our brilliant tactical minds ( sure..whatever). Scenarios were what was called for and we went for one called 'exposed vanguard'.

Paul and Chris were the Austrians.
Ross and I played Ross' French.

The scenario was only five turns in length and was fairly straight forward. A small vanguard of Austrians (three battalions and 1 battery) were holding a series of low hills on the far side of the table- closer to the French deployment zone the bulk of the Austrians ( 5 battalions of Infantry , 1 gun and 3 Cuirasssier units) had to get there to relieve them before they were swamped by the attacking French ( 6 Battalions of Infantry , 2 guns, 3 Dragoons and 2 Line Cavalry).  
Using the Honours of War rules, the Austrians had superior Cuirassiers, superior guns and standard infantry. The French were inferior Dragoons, standard Line Cavalry, infantry and guns but were a bit slower moving under the 'national' characteristics.

What topped it off, was the fact that the French CinC was 'Dithering' as were his senior infantry commander and his dragoon commander.

The Austrians were all Dependable except one who was 'Dashing'.

These classifications make for interesting gaming as players must roll each turn to see how each Brigade will respond.

Now the scenario was based on the French being about one and a half turns from the hills and the Austrian relief forces were 3 infantry turns away- depending on die roll.

And that's where the title of this post came in.  The French infantry 'dithered' for two turns in the first three, the French artillery rolled three ones in a row....'sigh'......whereas the Austrians tore across the table, in Turn 2 getting a double move in fact....it was basically obvious that the French weren't doing any real damage to the vanguard and by the end of turn four the French commander was facing a firing squad.


Germans, Romans and a double defeat.

Spyros has always been proud of his collections of 20th Century and 21st Century figures.
World War Two? You bet.
Korean War? Check
Arab Israeli Wars? Yes
Rhodesian Bush wars? Of course.
Cold War and British Army on the Rhine? Jawohl!
Falkland Islands- yes both sides.
Afghanistan? Iraq? Yes and yes.
Drug cartels, modern black ops? ...shhh...but yes.

So when he rang me to tell me that he was doing Germans I was a bit perplexed.
"I know," I said, "I painted your Bundeswehr for you in the flecktarn camo."
"Not them. Ancient Germans. Tribesmen."
"Seriously? Why?"
'To fight my Romans."
"You have Romans???"

So that led to this post.


The German commander encourages his tribesmen

Oudenarde July 11th 1708 -- or an attempt at it anyway

 Well it was going to be a big one as the Brothers gathered.  For a variety of reasons there were less of us than originally planned. Ralph was the French CinC , Vendome, and Tom and Phil were his subordinates.
Ross played Marlborough ( I think Ross liked being referred to as 'Milord' or 'His Grace') and Spyros and Chris were his subordinates. 

The game was interesting as both sides were marching onto the field and had to jockey for position as each brigade had to shake out into line. Troops arrived on a predetermined plan - each commander had a good idea of the arrival of various brigades with some possible alteration. The battlefield had long lines of approaching troops!


View from the French side. Moving along the road-A Dragoon Brigade. Behind Infantry brigade with Irish, Royal Italians and Barvarians. In the middle of the picture- the opening engagement- A brigade of Prussians and Hanoverians attack a brigade of Swiss and Germans holding the small village of Eyne.


Getting it ready- an intriguing battle!

 Gaming has been a bit thin on the ground recently, and I haven't had the chance to put anything on the blog- life getting in the way of all the important stuff! That was until very recently when I managed to get a few in (Reports to follow!). Additionally, with a few spare days and an itch that needed to be scratched, I had always wanted to have a crack at what I always felt was Marlborough's most unusual battle: Oudenarde July 11 1708.

It was unusual in that it was not a planned battle and involved a river crossing ( in two places!) as the French Commander, Vendome, scrambled to deal with Marlborough and Eugene's crossing and the battle that unfolded was a fascinating tactical situation.

How to do it on the table?

With both armies consisting of over 90 battalions each and 130 squadrons, I had nowhere near that- and most of my OOB was for other battles. Undaunted I decided to give it a go. I figured that I could do a 3:1 ration for the infantry and 4:1 for the cavalry- about 25-30 battalions a side and 30+ squadrons a side. The proportion wasn't quite correct but I was using everything suitable that I had. So it was a 'bathtubbing' exercise which reflected some of the tactical nuances of the battle but not really a recreation of it. 

Terrain was essential so I decided to scratch build it. I needed to represent the Scheldt river and the town of Oudenarde where the Allied army crossed over and the heights above the town that were fought over by the armies on the day. 


My go to book for this one!


Round three!! Assyrians and Elamites!

 So the Round three was fought out just after Chrristmas. In our first game my Elamites had been victorious. In the rematch Ross' Assyrians had smashed my army very comprehensively.....so it was time for the DECIDER!!

Assyrian Left flank....Elamite light cavalry (left) up in the Assyrians' (right) faces skirmishing from turn 1.

The table- Elamites on the left, Assyrians on the right.


Valour and Fortitude: 28mm Napoleonics

 Chris has some of the most amazing 28mm Napoleonic figures I have ever seen. His collection is huge and the quality of his stuff is first class. With the advent of the Perry's Valour and Fortitude Rules,  he wanted to put some of his troops through their paces and get a handle on the rules, which are fast, very bloody and easy to play. He dropped in one Saturday afternoon last year - I had the table ready to go. I wrote up the post...and forgot to post it!

What was especially mind blowing was his model of Gemioncourt- the famous farmhouse that was fought over during the Battle of Quatre Bras in June 1815 just before Waterloo. And although he didn't have the full OOB for the battle, it didn't matter as we set up a close approximation of the battlefield and then had a combined Franco-Bavarian force assault a defending Anglo- Brunswicker force.

The amazing modelled farmhouse- Gemioncourt from the battle of Quatre Bras


Highlanders awaiting the French onslaught. 

The attackers!!

Battle of Stones River- ( Or Murfreesboro) December 31 1862- The battle.

 The big day was on and the table was ready ( obviously!!) when the Brothers arrived.  
For ease of identification I have underlined and italiscised the Confederate commanders

Ralph was Braxton Bragg and he then would 'step down' and actually play Hardee's Corps ( Cleburne's and McCown's Divisions) on the Confederate left. On the Confederate right Phil was Breckinridge holding Wayne's Hill. In the centre, Tom ( playing his first historical game ever- welcome to the BOWB!) was Leonidas' Polk and he played Wither's Division. Richard was his subordinate playing Cheatham's Division.

Paul was  Rosecrans and gave all his orders. He then 'stepped down' and played Crittenden controlling the Union Left Wing. In the Center, commanding George Thomas'  Corps with its two Divisions was Spyros. On the Union right Ross was McCook playing Davis' and Johnson's Division. Chris was his subordinated, playing Sheridan's Division. 

Ideally it would have been good to have had a total of 13 players- each commanding a Division ( 8 Union and 5 Confederate) but by juggling everyone around,  I made sure that everyone was into the action reasonably quickly and in the thick of it almost from the start.

I used the Fire and Fury Western Scenario booklet and transferred the Order of Battle to Rank and File which was a pretty simple process.

The table with the relative deployments - by Division.
Blue is of course Union, grey is the Confederates


The Confederate left hook- Hardee's Corps ( McCook's and Cleburne's Division)...deployment at start.

The Battle of Stones River, December 1862: The set up.

 An invite went out to all the Brothers to assemble in the understated elegance of my garage for the annual Christmas Big Bash- A large game with as many figures as possible on a 12' x 6'.

I settled on ACW, which has been a staple favourite for big games, as the period is reasonably popular with the lads and everyone has some understanding of it. We use a simplified form of Rank and File which are quick and easy to learn. 

The ironic thing about was that as I began to work on it- I realised that the setup takes almost as long as the game. 

A couple of days before the game I started preparations at 10am. When I took the final photo at the end of the post it was just before 6pm and I hadn't stopped for more than 15 or so minutes for lunch and to feed my pets. A very engrossing procedure! 


Austrian Guns and Dragoons

 On holidays and an empty house- just the dog and the cat for company- it takes some effort to turn off the TV, switch off the computer and focus on the important stuff- wargames figures!

I recently finished three units of Dragoons and two heavy guns for my WAS/SYW project. I just need to order and add the appropriate flags!


Dragoons - 3 regiments for Honours of War complete.

My cat watches the process.


Solo WSS- Louis' Army holds the line

 I put some of my WSS through their paces the other day, using the scenario 'Flank attack' . A Brigade of French Horse ( 4 Squadrons) a Brigade of Foot ( 4 Battalions) and a small Dragoon Brigade ( 2 Squadrons) were tasked with holding a small line of hills that controlled a major road. The Dutch were to drive the French from their position ..and they had the added advantage of a Foot Brigade of 3 Battalions of Foot that had moved into position on the exposed flank of the defending French.


On the painting bench....WSS.

 I recently went back to adding to my favourite collection- my Age of Louis XIV or Marlburian. I hadn't painted any figures for quite a while- so many others to do!!  A few years in fact so in November I ordered some figures from Front Rank. I decided on Imperial Troops ( Hapsburg Austrians) as I only have two battalions and decided to add two more.


I painted the Daun Regiment and then the Osnabruck Regiment.

I find myself just adding units- even if they didn't serve in any of the theatres that I am gaming.


Assyrians and Elamites...at it again!!

 After the last game, Ross went back to his army lists ...and decided to make some changes to his Assyrian army. He did away with the large number of the 'Line Infantry' and bumped up the number of archers. He took the maximum number of 'Archers of the Guard" and made sure that he had as much firepower as possible. Then he picked up the phone and hurled abuse down the line. Realising that  he had mistakenly called the local Chinese restaurant, he apologised and then called me. I then received the full brunt of his poor attitude and the challenge for a rematch.


Assyrians and Elamites!

 So my Elamites were finally ready- done in one year! Ross dusted off the Assyrians and an historical match was fought. I found using the Elamites an interesting experience as they really had no hard hitting combat troops, just lots of firepower. The Assyrians on the other hand did have some good solid combat troops, but not quite the firepower of the Elamites.


My Kallipani chariots- which are really just troop transports with firepower.
Lots of firepower but not great if charged.

The wagons must get through!


At the Club Meet, ( Company of Dice) this month, Spyros and I put on a Pony Wars game with 'Spuds' joining us. Using The Men Who Would be Kings rules, we played an umpire run scenario where each player ( Spyros had A and B Troop and Spuds had E and F Troop) had two troops of US Cavalry commanded by a Lieutenant and they had to escort a couple of wagons off the table- lengthways- through Indian territory. 
The players first priority was to get the wagons off the table. Each one had a value of five points- which could be reduced by enemy action ( this would prove crucial in the final result). Each surviving trooper was worth one point. The 'Hostiles' were randomly generated and controlled by the umpire. Their main course of action was to skirmish, although if they outnumbered the Troopers by two or more to one- they could charge in to count coup and take scalps!!

Spyros' two troops and their wagons on the left. One of Spuds' Troops on the right.

The peaceful Indian village - about to be disturbed by four troops of US Cavalry and some bloody great wagons.

The trouble with the Swedes...........

 A look over a couple of the historical games that we've played in the GNW, (Holocwzyn, Lesnaya) showed that the Swedes lost those games both game-wise and historically.  Yet in the rules we use, the Swedes have significant advantages for moving quickly, charging fiercely and other advantages over troops who do not have the same tactical doctrine- especially in the initial contact. The poorer firing capability means that they avoid firefights and get 'stuck in'. 

There were good reasons for those defeats. Usually factors such as delayed deployment or poor deployment.

In our games the Swedes tended to suffer too many casualties and by the time they got into hand to hand contact- which they invariably won- they couldn't exploit the success. Or the dice didn't allow them to get stuck in early enough.

After giving the Swedes all the advantages and extra dice and better modifiers ......it doesn't mean that they will always win. Which is just as well- no one would want to play against them!

BUT in a small scenario, with the Swedes deployed and ready......it's a very different story!!!

The Swedish right flank. Four Squadrons of Cavalry..and one Regt. of Foot.


The Table.
The Scenario was for the Swedes to drive the Russians and Saxons from their defensive position. The key objective was the big hill to the right of the road at the center rear of the allied position. The Saxons held the middle. All drilled; good solid troops who can deliver deadly, steady volleys. All musket armed. The Russian brigade was split. Two were drilled and two were raw and all armed with musket and pike. One drilled and one raw were holding the far right flank, a section of the table that the Swedes ignored.The other two were smack bang in the middle of the table. The six drilled squadrons of Russian Dragoons were on the Allied left. Two guns out in front.

Predator!!

 One of my all time favourite movies- with Arnie. Predator is a classic....and is just crying out to be gamed. I saw online that someone had come up with the stats for Blood and Plunder for the movie 'Prey' which is American Indians against an earlier form of Predator...and while I was watching the movie Predator with my wife ...I looked online and found these beauties on Etsy!!


Poles and Muscovites- small scenario


Polish Pancerni

 I opened up a scenario booklet and was looking at one of the scenarios- a holding action. A small force stopping a larger force from pushing thru their line of defence. I looked up the required forces and put the Muscovites on the table as the defenders and the Poles as the attackers.

The Muscovite position. On the southern side of the road- a unit of Nobles ( Dvor) a units of Boyar cavalry a streltsi shot unit, big gun and just off screen at the bottom, some cossack light cavalry.
To the north another Boyar cavalry unit, two units of Streltsi, one with shot only, the other as 'German' infantry- pike and shot. Their mission was to stop the Poles pushing along the road.