![]() |
| The Table: The French on the left having just crossed the Rhine. |
Battle of Friedlingen 14 October 1702,
Battle of Fraustadt, Great Northern War 1706.
The battle of Fraustadt, fought in February 1706 is a battle that's fascinated me and sooner or later I was going to give it a try on the table top.
A Swedish army of approximately 9500 men took on an army of double its size. The Swedes had 3700 infantry and 5700 cavalry.
The enemy force, a combined Saxon and Russian force numbered around 20,000 with 4000 cavalry and the rest infantry.
![]() |
| The Swedish infantry. Under our rules classed as Veteran Shock Foot. Very deadly. And so they should be!! ![]() The Swedish Horse! Veteran Shock Horse. Even Deadlier! |
Battle of Kalamata September 14th 1685.
As part of my WIP for the battle of Vienna I have the forces for many of the conflicts of the same time. Looking at "A Taste of Victory" from Barry Hilton, who is one of my favourite 'dealers of product', I realised could play one of the games described in the book. One of the scenarios is the battle of Kalamata, fought in the Peloponnese during the Morea War when Venice took the region from the Ottoman Empire.
![]() |
| My layout- the picture is not a good one as the Saxons aren't included and the Ottomans facing them are not in it either! |
![]() |
| The scenario book! |
WIP VIENNA 1683
I have got the figures ready, the objective markers are done, the scenario is clear.....just need to give the rules a run. I have a home grown set that are fairly brief and bloody that I have used consistently for the last 10 years for my big games in the period 1680-1720. There are tweaks for specific battles and in general they work ( it wouldn't be worth all this effort of they didn't!)
With this dry run, I learnt some valuable lessons.
I think it's ready. Time to gather All the Brothers.
| The Relieving force- From the Right: Imperial Foot, Imperial cuirassiers, Bavarian cuirassiers and Dragoons, Saxon Cuirassiers and at the far end with all those flags, the Bavarian and Saxon foot. |
QUEBEC 1759
I had cut the article describing this battle from an old Wargames Illustrated a long time ago and had it filed away in my 'scenarios' folder - yes..PAPER....not an electronic copy.
I always thought it would make an interesting, if fairly straight forward, table encounter. Ross had his SYW French. We didn't have Wolfe's Redcoats ( but I had the Osprey book!!) but I had more than enough AWI British troops that could double up. Now I can hear the screams about accuracy and purity of representation - total poo of course. The figures are nice- they look about right so I used them!
![]() |
| The cover of the issue! |
![]() |
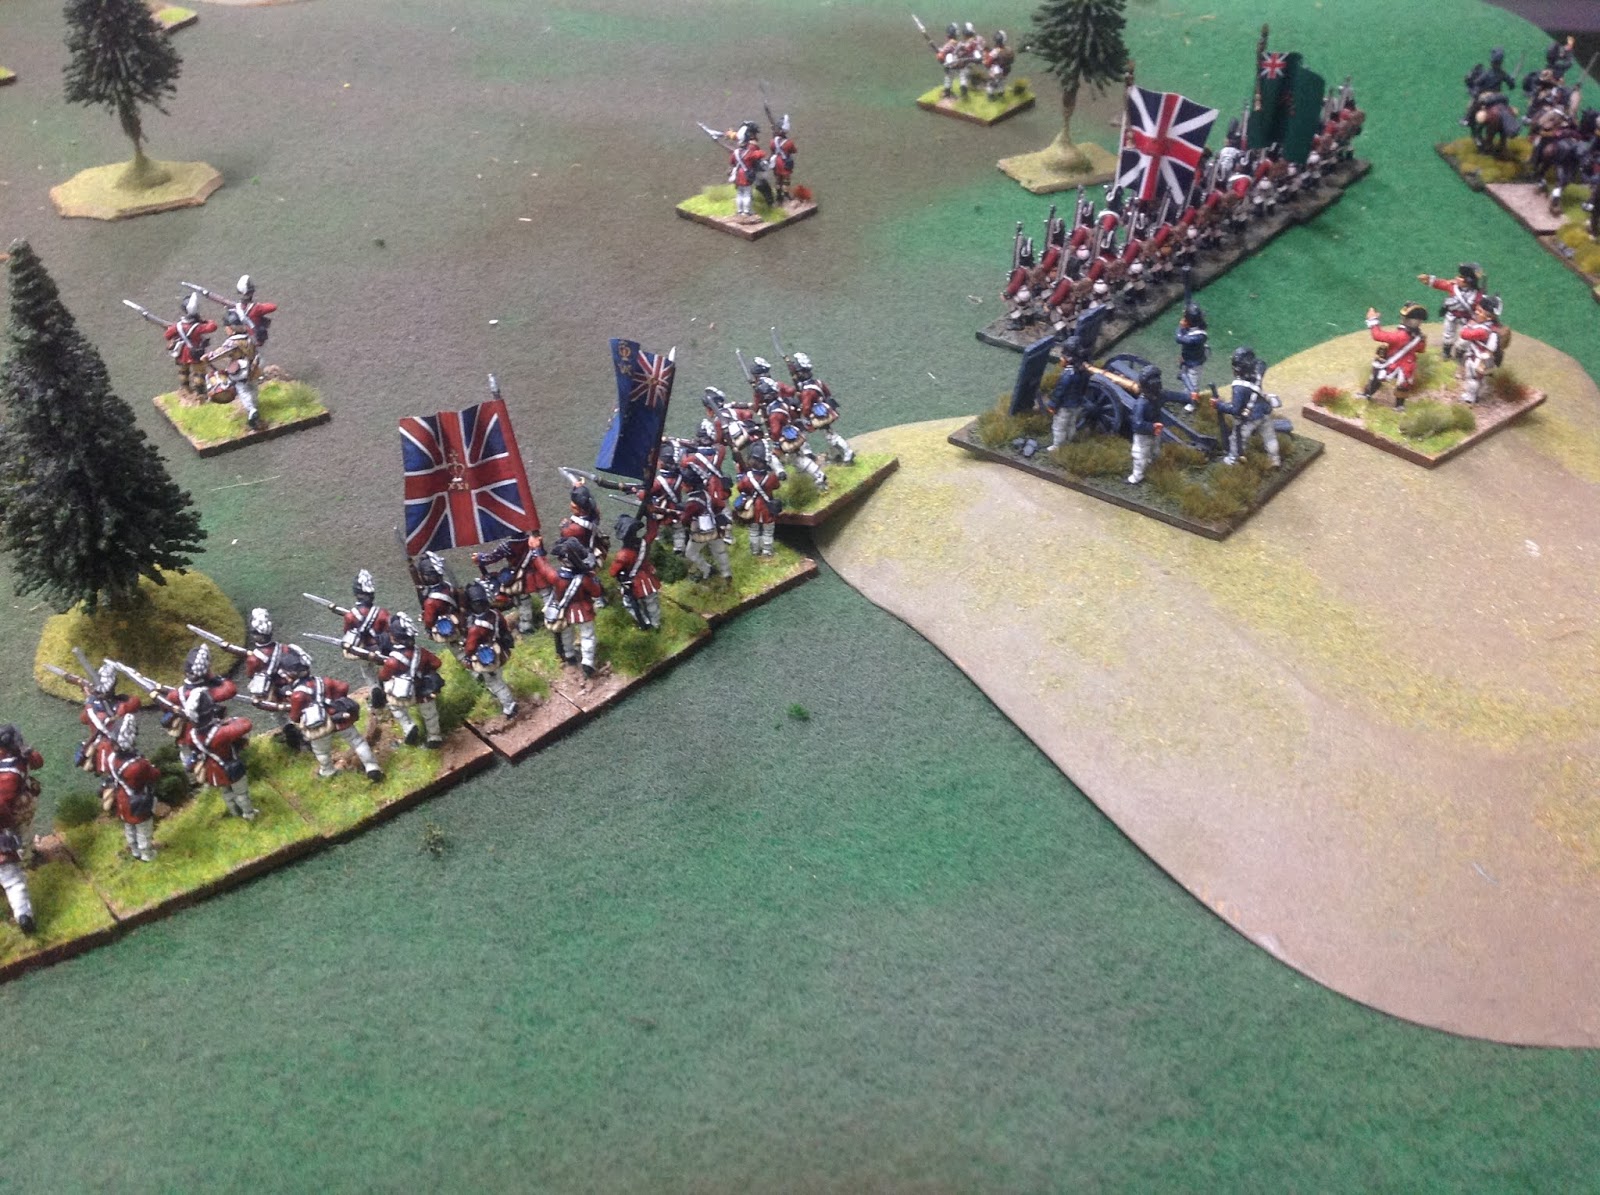
| The Redcoats on the left. French on the right. Indians and Coureur de Bois in the woods on the British flank. |
The original article was for WRG Horse and Musket rules which is one of my most played and favourite rulesets of all time. We have moved on from it ( sadly I guess) and translated it across to the rules we currently use, Honours of War.
WIP- 1683- The Ottoman Camps.
The 'objective markers' for my Vienna game are coming along nicely. I settled on four different objectives that will be across various points of the table. It's probably going to be a 12'x6' .
The Allies will each have a specific objective- and the Ottoman task is to stop them!
The four objectives:
1) The Vizier's tent (The Polish objective)
2) The Grand Battery (The Bavarian Objective)
3) The Foundry (The Imperial/Austrian Objective)
4) The Wagon Park. (The Saxon Objective)
Now this is fairly arbitrary but what it means is that each contingent can 'win' even if the allied relief force fails overall, that is, if the Turks stop them. The Vizier's tent will be the decider in the event that each side holds two objectives each.
Now I just have to paint up the last of the Saxon and Bavarian Dragoons.
Cheriton 1644 (Twice!) 10mm and 28mm
Richard has a collection of 10mm ECW which I find so inspirational every time I see them out on the table. The chance for a game was too good to pass up and he had chosen the battle of Cheriton in 1644.
| Richard's 10mm - Parliament Foote. The big bases with the large numbers of figures look sensational to me! |
WIP- Vienna 1683.
I have been considering this for a while.
I have the Poles and I have the Ottomans.
And I've added Imperial and Bavarian Foote to play out the relief of Vienna in 1683. Many of my WSS Imperial Cuirassiers will be fine...and I have lots of them!
I need some Saxon Foote and Horse ( I might cheat and use some of my GNW Saxons...but don't tell anyone).
I guess it's one of those battles that all gamers have heard of and many have played, and I think as I have had the Ottomans for so long it's time to give it a crack.
It will mean a table with the Kahlenburg heights...and maybe a section of the walls of Vienna....and a Turkish camp.
Hmm.....time to get started.
![]() |
| The first of my Imperial regiments. ( I have to confess I didn't paint this unit!) |
Fulford Gate 1066.
Spyros expressed an interest in the Vikings sitting on my shelf.
After a brief discussion, we decided to get them on the table to fight my Anglo-Danes ....and redo Fulford Gate - the first of the three epic battles fought in 1066. We played it at the Company of Dice club meet here in Sydney.
Spyros was Morcar and Edwin and I was Harald Hardrada.
The two Anglo-Danish earls raced to take up a position on a stream bank and made it just in time before Hardrada's Vikings got there.
End of Turn 2 .
![]() |
| View from the Viking lines- Edwin's Mercians, skirmishers thrown out as the main line races to the stream bank- a defensible position. |
Oudenarde July 11th 1708 -- or an attempt at it anyway
The game was interesting as both sides were marching onto the field and had to jockey for position as each brigade had to shake out into line. Troops arrived on a predetermined plan - each commander had a good idea of the arrival of various brigades with some possible alteration. The battlefield had long lines of approaching troops!
Getting it ready- an intriguing battle!
Gaming has been a bit thin on the ground recently, and I haven't had the chance to put anything on the blog- life getting in the way of all the important stuff! That was until very recently when I managed to get a few in (Reports to follow!). Additionally, with a few spare days and an itch that needed to be scratched, I had always wanted to have a crack at what I always felt was Marlborough's most unusual battle: Oudenarde July 11 1708.
It was unusual in that it was not a planned battle and involved a river crossing ( in two places!) as the French Commander, Vendome, scrambled to deal with Marlborough and Eugene's crossing and the battle that unfolded was a fascinating tactical situation.
How to do it on the table?
With both armies consisting of over 90 battalions each and 130 squadrons, I had nowhere near that- and most of my OOB was for other battles. Undaunted I decided to give it a go. I figured that I could do a 3:1 ration for the infantry and 4:1 for the cavalry- about 25-30 battalions a side and 30+ squadrons a side. The proportion wasn't quite correct but I was using everything suitable that I had. So it was a 'bathtubbing' exercise which reflected some of the tactical nuances of the battle but not really a recreation of it.
Terrain was essential so I decided to scratch build it. I needed to represent the Scheldt river and the town of Oudenarde where the Allied army crossed over and the heights above the town that were fought over by the armies on the day.
| My go to book for this one! |
Battle of Stones River- ( Or Murfreesboro) December 31 1862- The battle.
The big day was on and the table was ready ( obviously!!) when the Brothers arrived.
For ease of identification I have underlined and italiscised the Confederate commanders
Ralph was Braxton Bragg and he then would 'step down' and actually play Hardee's Corps ( Cleburne's and McCown's Divisions) on the Confederate left. On the Confederate right Phil was Breckinridge holding Wayne's Hill. In the centre, Tom ( playing his first historical game ever- welcome to the BOWB!) was Leonidas' Polk and he played Wither's Division. Richard was his subordinate playing Cheatham's Division.
Paul was Rosecrans and gave all his orders. He then 'stepped down' and played Crittenden controlling the Union Left Wing. In the Center, commanding George Thomas' Corps with its two Divisions was Spyros. On the Union right Ross was McCook playing Davis' and Johnson's Division. Chris was his subordinated, playing Sheridan's Division.
Ideally it would have been good to have had a total of 13 players- each commanding a Division ( 8 Union and 5 Confederate) but by juggling everyone around, I made sure that everyone was into the action reasonably quickly and in the thick of it almost from the start.
I used the Fire and Fury Western Scenario booklet and transferred the Order of Battle to Rank and File which was a pretty simple process.
![]() |
| The table with the relative deployments - by Division. Blue is of course Union, grey is the Confederates |
![]() |
| The Confederate left hook- Hardee's Corps ( McCook's and Cleburne's Division)...deployment at start. |
The Battle of Stones River, December 1862: The set up.
An invite went out to all the Brothers to assemble in the understated elegance of my garage for the annual Christmas Big Bash- A large game with as many figures as possible on a 12' x 6'.
I settled on ACW, which has been a staple favourite for big games, as the period is reasonably popular with the lads and everyone has some understanding of it. We use a simplified form of Rank and File which are quick and easy to learn.
The ironic thing about was that as I began to work on it- I realised that the setup takes almost as long as the game.
A couple of days before the game I started preparations at 10am. When I took the final photo at the end of the post it was just before 6pm and I hadn't stopped for more than 15 or so minutes for lunch and to feed my pets. A very engrossing procedure!
Battle of Wallhof Jan 17th 1626- Baroque
![]() |
| One of the Swedish foot units and a gun. |
![]() |
| The Table at the start of the battle. |
Battle of Lesnaya, September/October 1708
Another Great Northern War scenario and game. My favourite period and my favourite style of game- an historical clash.
The Battle of Lesnaya was a decisive clash of the GNW. It took place on September 28th 1708 between a Russian army commanded by Tsar Peter I of Russia. (October 9 for the Swedish Calendar) His number two was Prince Aleksandr Menshikov who ably assisted the Russian ruler. The Russians numbered approximately 14,000 men. The Swedes, numbering 12,000 were commanded by General Adam Ludwig Lewenhaupt. Lewenhaupt was one of Sweden's foremost generals and commanded a well trained and motivated force. Some of his regiments were veterans of many years' campaigning.
For Peter the Great it was his first great victory over the Swedes.
| The Russian guns from the southern column deployed. |
| Swedes waiting by the town |
AWI: Bennington 16th August 1777
I got the AWI collection out the other day and decided to refight one of the battles that struck me as being a little different to the many of the other I’ve refought in the past( Click on AWI link on the right hand side!)
I settled on Bennington 16th August 1777 and used the Scenario Booklet 4 from the British Grenadier rules, but decided to try the Little Wars TV rules, “Live Free or Die” as I have watched their games on YouTube and was impressed with the way they played. I used the OOB in the scenario book and just divided the number of figures by 4 to get the appropriate number of bases. For skirmish units I divided the number of figures required by 2 ( see below).
What particularly grabbed me about the fight was two interesting ingredients. The first was that the Continentals ( well- militia mainly) are assaulting defensive redoubts instead of the usual attacking redcoats. The second aspect was the fact that on the ‘redcoat’ side there are few actual British troops. The vast bulk are Brunswickers, Loyalists and some Indians…so hardly any ‘redcoats’…just a few riflemen!
| The table- looking north. |
GNW- Battle of Holowczyn: July 1708.
Finally a chance to get all my Swedes and Russians onto the table- very gratifying to see the project come together!
A large game that represented Charles XII attempt to force the Russian positions along the Vabich river in 1708.
A bit of background:
The Swedes: Ralph, Richard M, Richard T.
The Russians: Ross, Paul and me!
| The Russian redoubt! |
| The table setup for opening moves. |
ECW- Battle of Tippermuir 1st September 1644.
Montrose's battles are a source of fascination for me. Any one of them is small enough to represent on the table with the limited units I have. Today I looked them over : Tippermuir, Aberdeen, Fyvie, Inverlochy, Auldearn, Alford, Kilsyth and Philiphuagh.
What the hell- start at the beginning.
Tippermuir it is! I dug into my scenario books and allocated my units and refought the battle over a couple of hours- another solo effort in lockdown.
I had to incorporate some special rules in the scenario.
Under our rules, infantry charging cavalry lose their charge bonuses. Nor can Foote countercharge. In this battle the Highlanders and Irish were particularly aggressive- so they were allowed to. And when charging cavalry the Highlanders kept their secondary charge bonus ( ferocious charge).
Additionally, during the battle, Montrose's troops captured the Covenanter guns and turned them on their former owners. So for this scenario, if/when a gun fell it was available to be fired the following turn by its captors. As Montrose had no guns or Horse, these rules were designed to allow Montrose's troops to perform as they did historically!
| One of the Irish Regiments of Foote. (Being used as Lt Gen Alexander McDonnell's Regt- but carrying Col. James MacDonnell's flag) |
AWI - Monmouth- Washington saves the day.
An AWI game refighting the second phase of the battle of Monmouth. This was the first game we had a couple of months ago after the lockdown was lifted.
We did the second half of the Battle of Monmouth June 28 1778.
In this stage, the Continental Army under Washington was rallied after fleeing when being led by General Charles Lee.
We used the British Grenadier scenario booklet for the positioning of forces.
The rules were the quick play set from 'Der Alte Fritz' Blog.
I made some notes as I went along...then lost them. All I remember is that the game pretty much followed the historical outcome - The Redcoats would call off the fight as both sides were taking losses.
| Cornwallis' Brigade ( on the bottom right) facing Wayne's Brigade. |
| Cornwallis' Brigade- |
Battle of Atlanta July 22nd 1864- ACW
In this battle John Bell Hood's Army of Tennessee was trying to break the tightening ring of the Union army approaching Atlanta. He sent Hardee's corp to outflank the Union Army of The Tennessee of General James B McPherson. Cheatham's corp was to hit the Union line at the same time. Well, that was the plan, but Hardee was held up by the terrain- and some very tough fighting Union soldiers ( under Ross' command) .
Nick played Hardee with Noel, Chris and Paul as his subordinates. Cheatham's command was also ( when it finally arrived) played by Paul and Chris. Ross was McPherson, Richard and Phil commanded Dodge's and Logan's Corps.
The game went very much as per the historical battle. Hardee's corp hit the Union flank hard, but didn't completely get around behind - so two of the encircling Confederate divisions hit the Union entrenchments and had great difficulty in dislodging the Union defenders. Two others got behind but were held up by several union brigades redeployed from the main line. In the end the Reb losses were very heavy and Hood called it a day!
| View from the Confederate flank attack- Hardee's corp move didn't quite get around the entrenchments. |